How to Turn a Drawing Into a Logo: A Step-by-Step Guide
Turn a hand drawing or sketch into a clean logo: photograph it right, clean it up, convert it with AI or trace it free in Inkscape, then export properly.
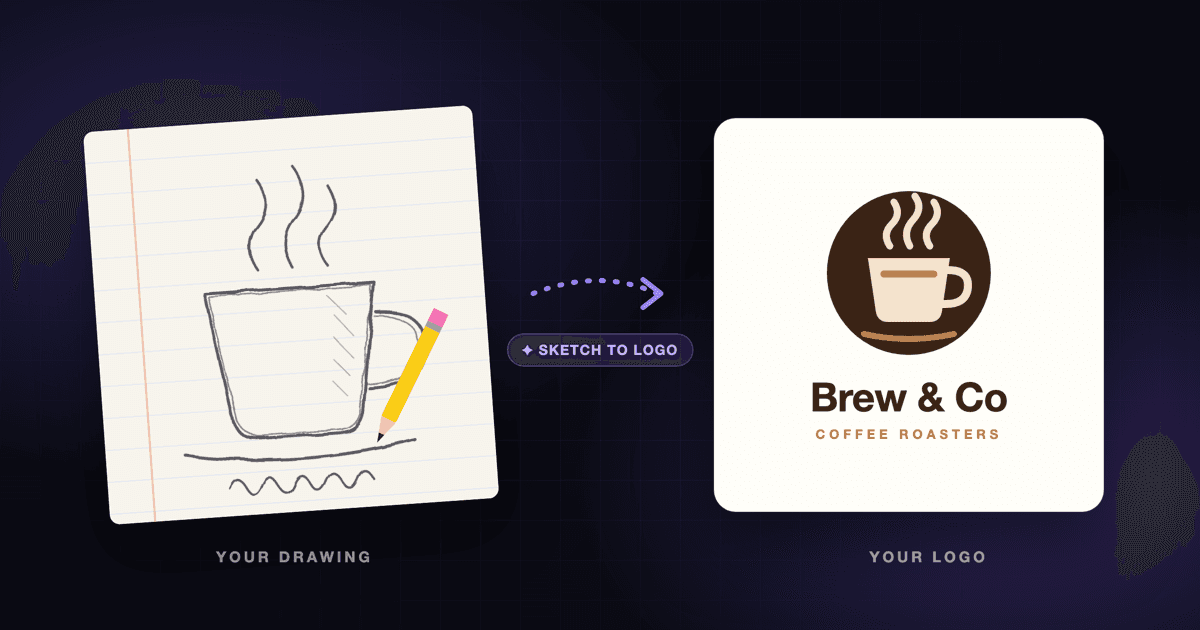
Many great logos start as a doodle on a napkin. The hard part is getting from that pencil line to a clean file you can put on a website, a shop sign or a T-shirt. This guide walks you through the whole process — preparing your drawing, converting it (with AI or by tracing it yourself for free), and exporting files that actually work.
You don't need Photoshop or design training. You need your sketch, a phone camera and about 30 minutes.
What you need before you start
- Your drawing. Pencil, pen or marker on paper, or a drawing on a tablet.
- A phone or scanner. A phone camera is fine if the light is good.
- One conversion route: an AI sketch-to-logo tool (fastest) or a free vector editor such as Inkscape (most control).
- A rough brand brief. Your business name, two or three words that describe the feel ("friendly", "premium", "playful") and one or two colors you like.
Step 1: Simplify the drawing first
Logos are seen small — in browser tabs, on profile pictures, on business cards. Before you digitize anything, simplify:
- Remove shading and texture. Hatching and soft pencil shading turn into noise when converted. Use solid shapes instead.
- Close your lines. Gaps in outlines make shapes impossible to fill with color later.
- Thicken thin strokes. Go over the final lines with a black felt-tip or marker. Thin pencil lines often disappear.
- Keep it to one idea. One symbol, or one symbol plus a word. If you have three ideas on the page, pick one.
A quick test: squint at your sketch from across the room. If you can still tell what it is, it will work as a logo.
Step 2: Capture a clean image of your sketch
The quality of your photo decides the quality of your logo. Most bad results come from bad input.
- Use daylight or an even lamp. Avoid your own shadow falling across the paper.
- Shoot straight from above. Hold the phone parallel to the paper so the shapes aren't skewed.
- Fill the frame. Crop away the desk, fingers and any other doodles.
- Boost contrast. In your phone's photo editor, raise contrast and lower shadows until the paper is close to white and the lines are close to black.
- Save as PNG or JPG. A scanner at 300 dpi or higher gives the cleanest result if you have one.
Step 3, option A: Convert your drawing with AI (fastest)
AI sketch-to-logo tools read the shapes in your drawing and redraw them as a polished mark. With AILogoMagic's sketch logo maker the process is:
- Upload your photo or scan (JPG, PNG or WebP), or draw directly on the built-in canvas.
- Describe the result you want in the prompt box — colors, style, and what to keep from your original. For example: "Keep the coffee cup shape and steam swirl, flat style, dark brown and cream, no gradients."
- Convert and review. If something is off, add more direction ("make the lines thicker", "remove the saucer") and convert again.
- Download your logo as a high-resolution PNG.
You can try it free: visitors get one free preview per day without an account, and signing up gives 5 free credits with no credit card required. See pricing for paid plans, which add JPG, print-ready PDF and larger sizes.
Tips for better AI results:
- Be specific about what must stay the same. The AI follows your drawing more closely when you name the key shapes.
- Name a style in plain words — "minimal", "vintage badge", "hand-drawn", "geometric".
- Change one thing per round. It is easier to see what each instruction did.
If you don't have a sketch yet, you can start from a text description instead with the AI logo generator.
Step 3, option B: Trace your drawing by hand for free (most control)
If you want a true vector file, or you want to keep every curve exactly as drawn, trace it in a free vector editor. Inkscape works on Windows, Mac and Linux.
- Import your image: File → Import, and choose your cleaned-up photo.
- Open Trace Bitmap: select the image, then Path → Trace Bitmap.
- Choose a mode: "Brightness cutoff" works well for black-on-white drawings. Raise or lower the threshold until the preview shows clean lines without speckles.
- Apply, then delete the original photo underneath so only the vector remains.
- Clean up nodes: use Path → Simplify to smooth wobbly lines, and the node tool to fix any bumps.
- Add color and text: fill shapes with your brand colors and add your business name with a clear typeface.
Inkscape's official tracing tutorial explains every Trace Bitmap setting in more depth.
Combining both routes: many people generate a polished version with AI first, then trace the PNG in Inkscape to get an SVG. AILogoMagic exports PNG rather than SVG, so this is the way to get a vector file from an AI result.
Step 4: Refine color and typography
A drawing becomes a brand when color and type are consistent.
- Limit your palette to one to three colors. Fewer colors print cheaper and stay recognizable.
- Check a one-color version. Your logo should still work in pure black and pure white — for stamps, embroidery and dark backgrounds.
- Pair hand-drawn marks with simple type. If the symbol is detailed or sketchy, a clean sans-serif keeps the name readable.
- Mind the spacing. Leave clear space around the symbol so it doesn't feel cramped next to the text.
Looking for direction? Browse logo ideas by industry or see the hand-drawn logo maker for style inspiration.
Step 5: Export the right files
One file is not enough. Save these versions:
| File | Use it for |
|---|---|
| PNG with transparent background | Websites, social media, presentations |
| JPG | Places that don't accept PNG, email signatures |
| SVG (vector) | Signs, large prints, merch — scales without blurring |
| Sending to a print shop |
Also export a square version of the symbol alone for profile pictures and favicons.
Step 6: Test it at real sizes
Before you use your new logo everywhere:
- Shrink it to 32 × 32 pixels. That is roughly favicon size. If it turns into a blob, simplify further.
- Put it on dark and light backgrounds.
- Print it on a normal sheet of paper and look at it from a few steps away.
- Show it to three people and ask what they think the business does. If nobody gets close, revisit the symbol.
Common mistakes to avoid
- Converting a low-light, angled photo. Redo the photo before you redo anything else.
- Keeping every detail. What looks charming at full size becomes noise at small sizes.
- Using only a PNG for print. Ask for or create a vector version before ordering signs or merch.
- Skipping the legal check. If your drawing is based on another brand's logo or a character you don't own, don't use it. AI-assisted work also raises copyright questions; the U.S. Copyright Office's AI guidance is a good starting point, and talk to a lawyer before registering a trademark.
Frequently asked questions
Can I turn a drawing into a logo for free?
Yes. You can trace it for free in Inkscape, or try an AI sketch-to-logo tool. AILogoMagic gives one free preview per day without an account and 5 free credits when you sign up.
Do I need Photoshop to turn a sketch into a logo?
No. A phone photo editor for contrast and either an AI tool or a free vector editor like Inkscape is enough.
How do I turn my drawing into a vector file?
Import it into a vector editor such as Inkscape and use Path → Trace Bitmap, then clean up the nodes and save as SVG.
What kind of drawing works best?
Bold, closed outlines with solid shapes and no shading. Go over pencil lines with a black marker before you photograph them.
Can I use the logo commercially?
On AILogoMagic, you own full commercial rights to the logo after purchase. Make sure the original drawing is your own work and doesn't copy another brand.
Ready to try it?
Grab your sketch, take a clean photo, and upload it to the sketch logo maker. Your first preview is free.
Turn your sketch into a logo
Upload a photo of your drawing and get a polished logo in seconds. Your first preview is free.
Try it free